The Best Online Reborn Help Forum!
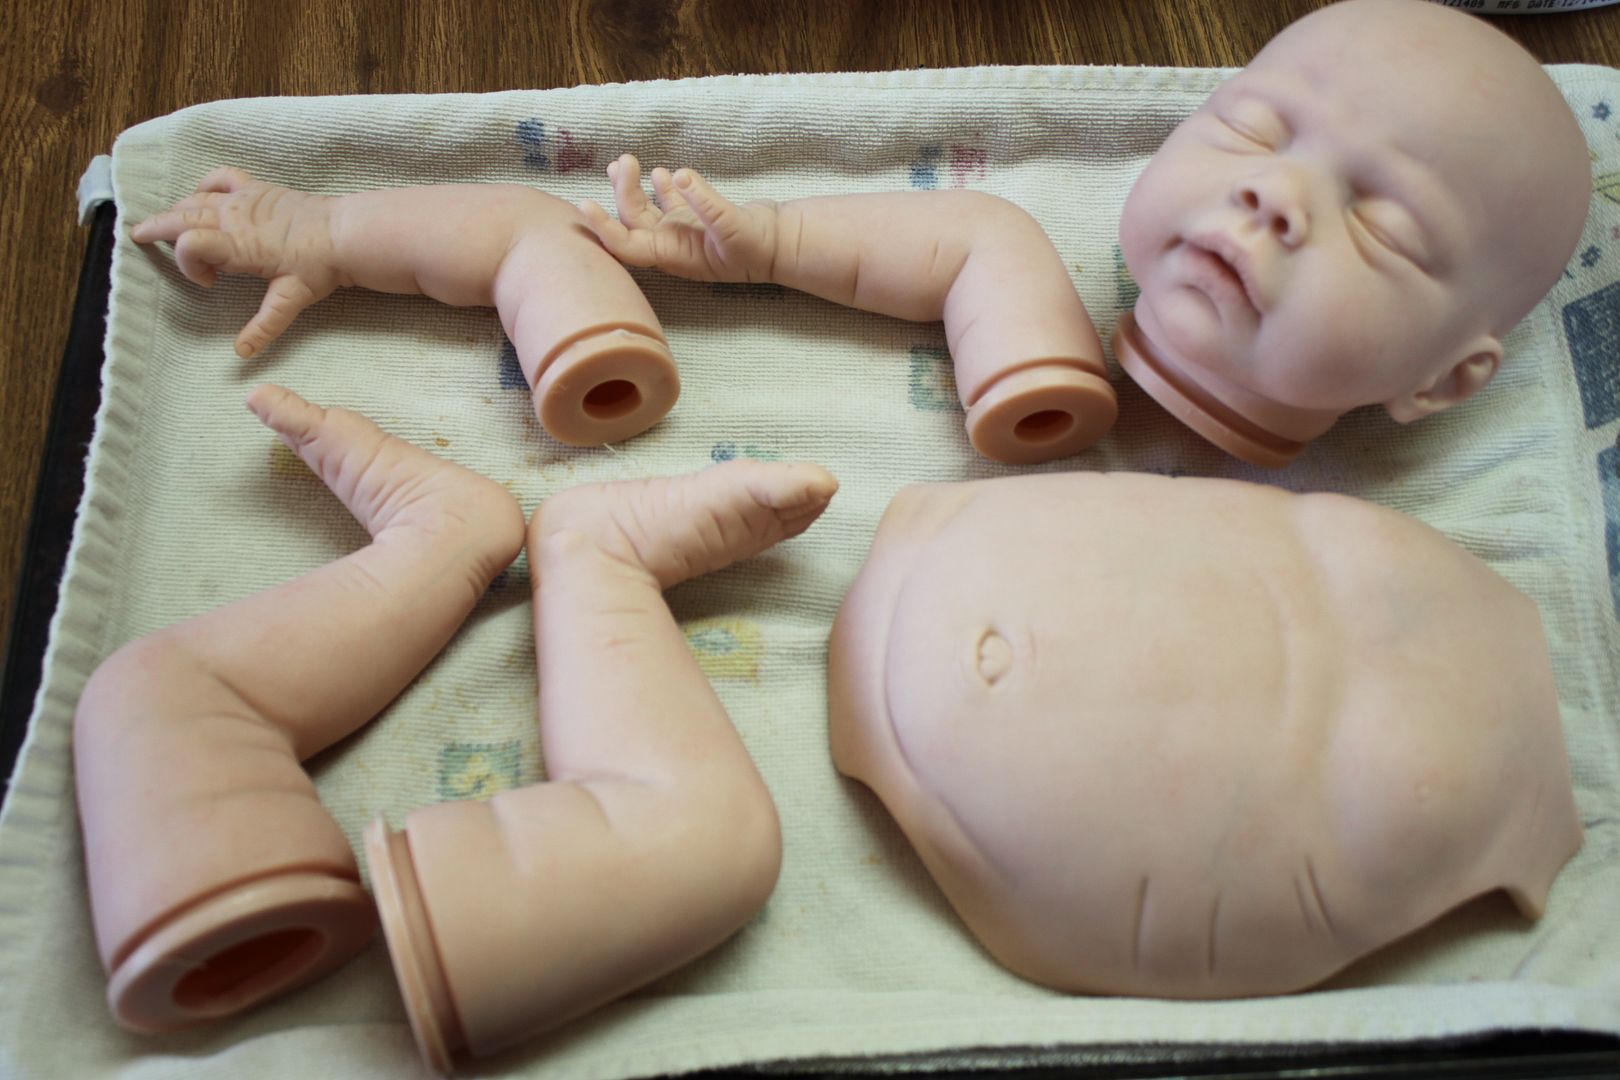
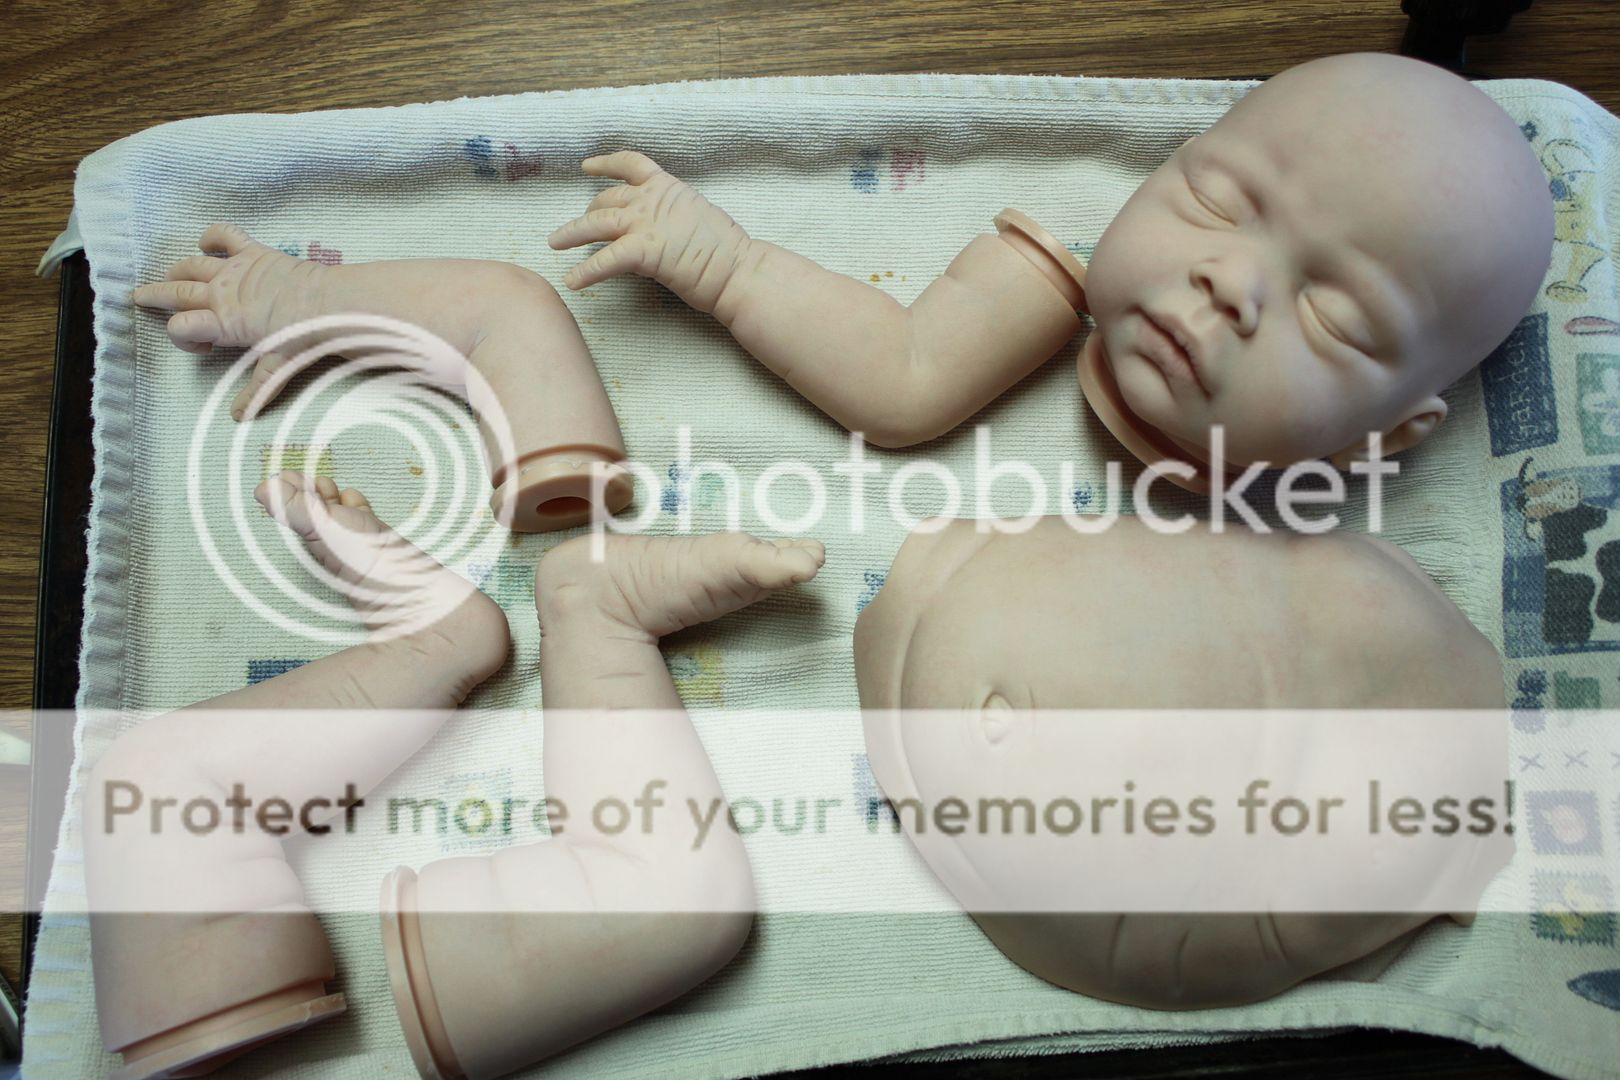
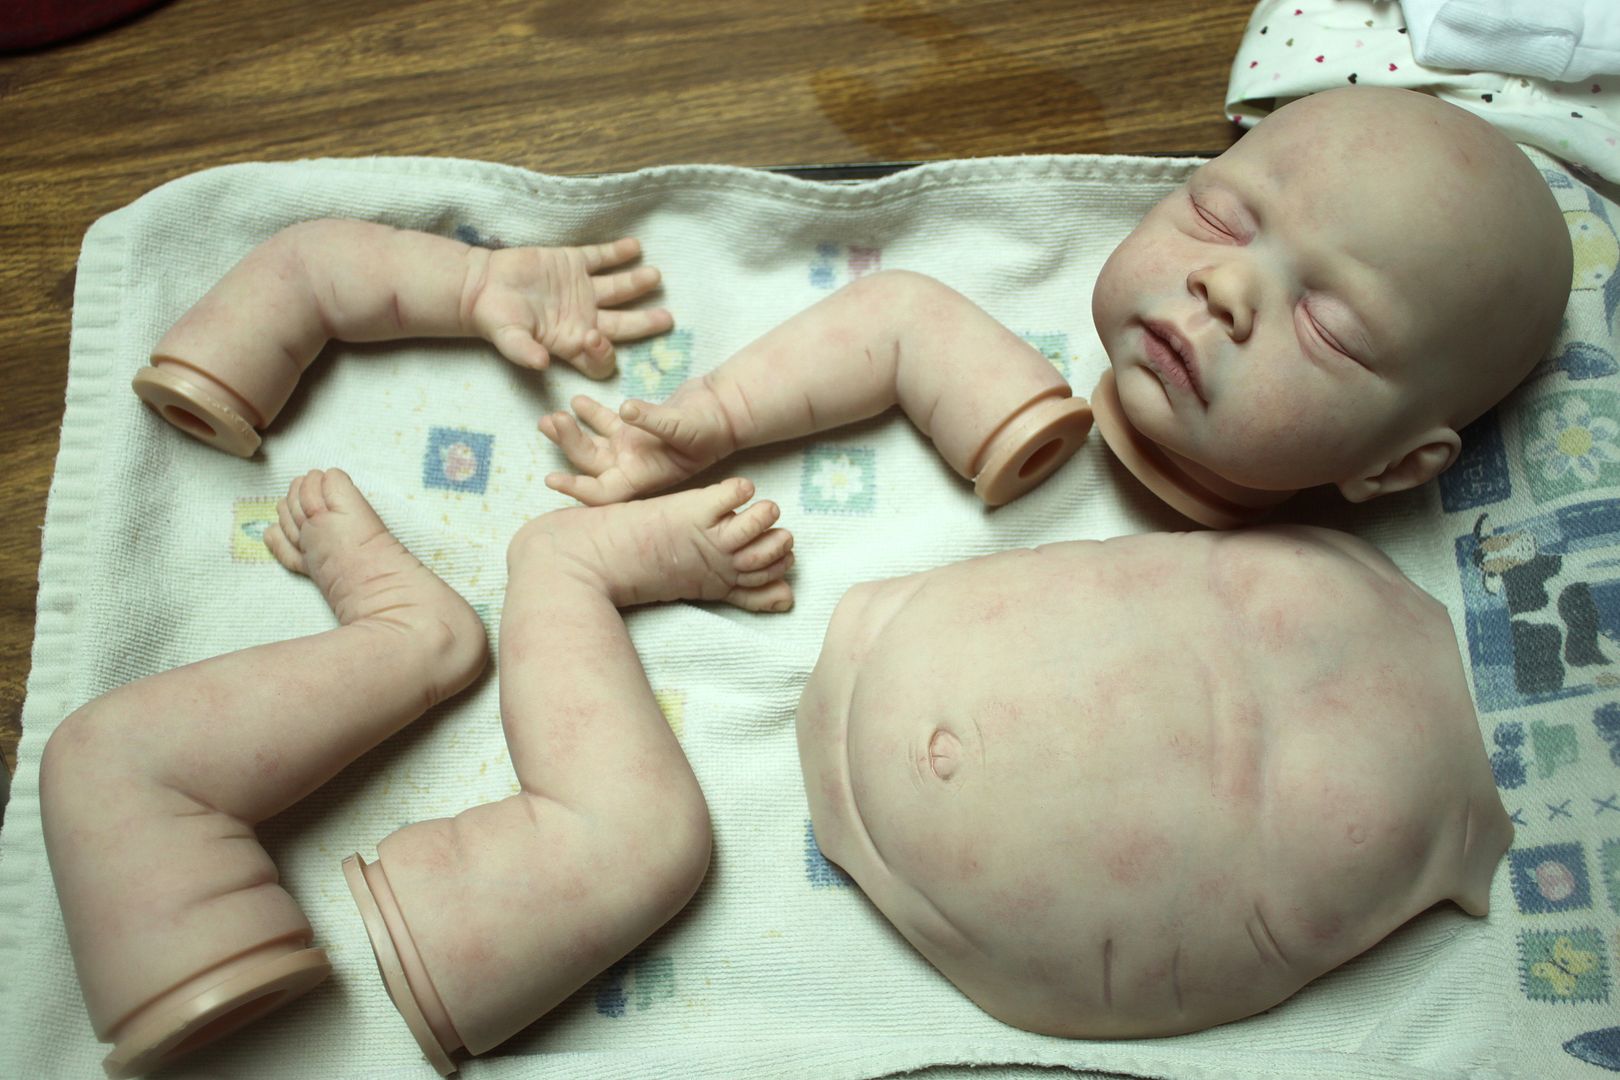
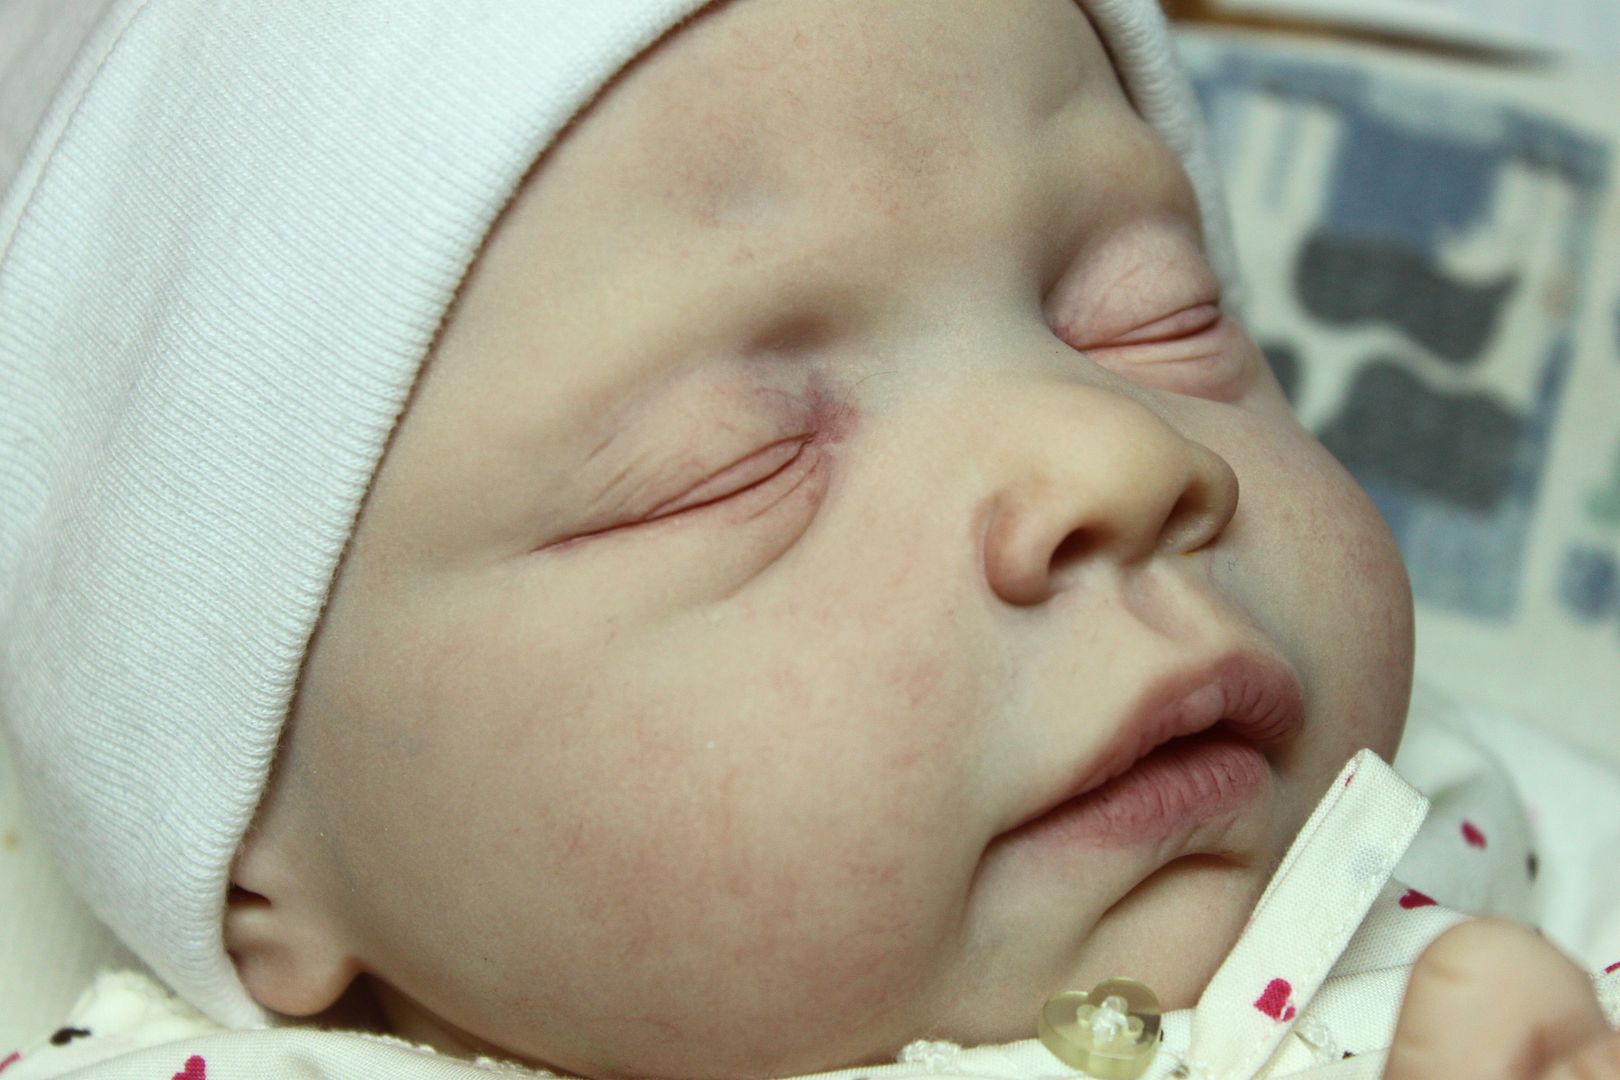
Members Login
Username 
 
Password 
    Remember Me  
Post Info TOPIC: Painting tutorial!


Senior Member

Status: Offline
Posts: 406
Date:
Painting tutorial!
Permalink   


The Painting of Prototype Dani, a LDC kit

I have put together a painting tutorial, following what I did on the painting of my last baby, Dani, who was a prototype kit, sculpted by Jannie de Lange and produced by DD as part of the LDC.

This is not an exact formula, but simply the way I painted this particular baby.  I vary my painting somewhat from baby to baby, depending on the beginning vinyl color and the intended skintone. 

I have used some of my own mixes, and some pre-mixed.  All of my pre-mixed paints are from Secrist.  You can buy them directly from Secrist or one of their retailers.

I bake after each layer.  Some layers have more than 1 thing, as you will see, but each one is baked to ensure that I do not mess up the previous layer while painting the fresh one.

I do not have pictures after each layer, unfortunately.  I do enough layers that I didn't think it would quite be practical to take so many pictures.  Hopefully the pictures I do have are enough for you to follow along, but still be creative and make your baby your own.  :)

I hope that this tutorial is helpful.  I would be glad to answer any questions you may have about it.   Thank you for looking!

Layer 1: flesh 08, pounced on, slightly thicker than your other layers.  I used a regular cosmetic sponge

Layer 2: veins with pre-mixed vein blue.  Blend veins in carefully after painting them so that you can barely tell where they stop and start.  Remember, you can always re-emphasize, but it's hard to make them lighter after baking.  Blue shading on thin skin: bridge of nose, under nose and lips, center of palms and hands, and a tiny bit on the temples.  Use a very, very thin paint for the shading, apply with a soft brush, and blend in with a clean cosmetic sponge.  You want it to be very subtle.

Layer 3: First layer of mottling: peachy colored mottling with P&C pre-mixed blush, using a mottling sponge.  You can use a sea sponge, but I use a cosmetic sponge that I attacked with tweezers in a random pattern.  I also did one very thin layer of Sweetheart Rose lip pre-mixed on lips.

Layer 4: Flesh 07 layer, pounced on, fairly thin.  Regular cosmetic sponge for this.


Layer 5: Blue/green wash, using the pre-mixed vein blue color, all over.  You want this to be a very thin layer.  Depending on the vinyl color you are using, you will want to do some  different color correction colors.  She didn't really need her color corrected, as the vinyl is a really pretty neutral color already, but I like doing some blue and yellow washes anyways to add depth.  If you need to color correct, here is a chart that may help:

Orange vinyl (like some playdolls and Berenguers):
A couple of thinned out blue washes, or more if needed (depending on how orange the vinyl is). Using a more purplish blush is also a good idea.

Yellow vinyl (like Secrist vinyl):
A thinned out blue wash, followed by a thinned out purple wash. If that's still not enough, another thinned out blue wash. Blushing should be more purple/pink rather than orange.

Purple vinyl (like some BB pink kits):
Then a thinned out mint green wash, possibly two. I also like to do a thinned out rusty red wash, too. At least one yellow wash, most often two. Blushing should be more orangy.

Pink vinyl (like BB pink kits):
Thinned out mint green wash, most often two. If it's more pink/purple, then a very thinned out rusty red wash. If very pink, then a purplish wash. One or two yellow washes. Blushing should be more orangy.

Grayish vinyl (like BB peach kits):
Then 2-3 yellow washes. A rusty red wash is also a good idea. Depending on age of baby, orange or pink blushing.

Mixes of vinyl color:
Use the various formulas together. Go slowly and take a good look before doing another wash.

Layer 6: Yellow ochre very thin wash (Genesis yellow, with a tiny bit of red and even less blue to make a rusty yellow color).  You can mix your own, or buy the Yellow Ochre color from Hunnybuns.  The picture below shows the doll with the legs and head with only up to Layer 5, and the arms and belly with the yellow ochre wash, so that you can see the very faint difference that a thin wash makes. 


Layer 7: Mottling with Strawberry Blush pre-mixed, using your mottling sponge (again, I used my tweezered sponge).  With the same color, do a little shading in the creases, and another thin layer on the lips.

Layer 8: Random mottling with a stipple brush (a brush with stiff bristles, preferably at least 1/2 in diameter) all over baby, using the Sweetheart Rose Blush pre-mixed.  Avoid big blotches on face, and do some darker ones on the scalp.  Blend this in with a slightly damp cosmetic sponge, not to eliminate the mottling/blotches, but to soften the edges and blend it a bit.  Also do the lips with Sweetheart Rose lips pre-mixed, Strawberry pre-mixed purplish color on eyelids, some capillaries on eyelids with Sweetheart Rose blush pre-mixed (use a very fine brush), and go over all the creases with Sweetheart Rose blush.  For the lips, I use a very fine brush, giving them a slight texture down.  Always paint with the brush down the lip, never brushing across except to gently smooth the edges. 

Layer 9: flesh 08 mixed with a tiny bit of Genesis yellow, pounced on all over.  Apply fairly thinly.


Layer 10: Pale Pink layer.  I used my own mix of white w/ a tad of Genesis Red, pounced on like a flesh coat with a cosmetic sponge.  Also, put a thin layer on the lips, especially the center, and then put a tiny bit of Sweetheart Rose lip pre-mixed all around the edge of the lips, as well as the tongue.  If you've seen Selena Saxton's new pink paint, my pale pink custom mix is about the same color.

Layer 11: Even mottling with Strawberry Lip pre-mixed paint (a little more purply) all over baby, with the tweezered sponge.  Pounce with the sponge, and blend it just a tad so that it doesn't look so stark.  Add a little extra Sweetheart Rose lip paint on eyelids, especially the bottom crease of the lid. 

Layer 12: P&C lip pre-mixed with a medium-soft brush on tips of fingers, toes, creases, and highlights (ears, palms and soles, knees, elbows, joints of fingers, tiny bit on cheeks, maybe a little on the forehead).  Capillaries on eyelids with Sweetheart Rose blush (redder color), using a very, very fine brush.  Also do some purpley capillaries with Strawberry Creases and Wrinkles pre-mixed paint.  With the stipple brush, I got a little Sweetheart Rose blush and gave her a little redder mark on her forehead, slightly off center.


Layer 13: Mottling with Sweetheart Rose lip pre-mixed on limbs and belly, using the tweezered sponge.  Do some more capillaries with different shades of pink and purple on the eyelid (I don't like to do too many at a time, since when I get some capillaries that I like, I don't want to add more lest I mess them up).  Here, I decided that I didn't like the shape of her lips, so I fixed them, by carefully brushing some flesh 08 on the lower area of her lips that went too low, adding some pinky colors to the edges where I wanted her lips to extend more, and played around with different colors until I was happy with them.  

-Layer 14: She still looked a bit pale to me, so I did a yellow ocher, super thin wash (see layer 6 to see how I mixed it up).  I also did a little more fixing on her lips, the same way that I did in Layer 13.  Here would be a good time to look at your baby again and evaluate what other color corrections might be necessary.  Go back to the instructions below Layer 5 for tips on correcting color.

Layer 15: Very light mottling with Sweetheart Rose blush pre-mixed on limbs, belly, and scalp (avoid the face).  If you want a paler baby without so much mottling, skip this step.

Layer 16:  Here I decided that she need a blue/green wash (pre-mixed vein color), so I did a very, very thin wash of this color on her.  I emphasized some veins a little more that had been a little too light in the beginning.  I also added some faint blue shading on her forehead.


Layer 17: Med. Pink color (white with a little Genesis Red, like the Pale Pink color, but with a little more red), on hands and feet, especially the palms and soles.

Layer 18: Some final finishing touches.  I mixed some flesh 08 with Genesis glaze, and put that on the inside of the lips to give them the lighter look.  I did some capillaries on the forehead with Sweetheart Rose blush, I believe it was.  I did her pink nails with very faint Sweetheart Rose lips and I did a faint blue wash on her eyelids.  For a slight bit of texture, I pounced the Genesis glaze with a cosmetic sponge all over her face.

Layer 18: More final touches.  A little P& C lips pre-mixed on palms and soles.  More flesh 08/Genesis Glaze mix on lips (mostly on center, but brushing out to the edges to smooth it in).  I did her nail tips with a mix of flesh 08 and white, with a teeny bit of yellow.

Layer 19: Eyebrows and painted hair around the hairline.  Skip the painted hair if you don't want that look, but I really liked the way it blended with the fine rooted hairs I do around the hairline. 
And, you're done!  Now you'll want to do your glossing, your rooting, your lashes, and all that fun stuff. 

Again, I want to re-emphasize that this is just the way I painted Dani, and I don't even paint the same way for each baby.  Take whatever helps you from this, but have fun and experiment and find out what works best for you.  And whatever you do, enjoy it!

Here's some pictures of the finished baby with gloss.  I hadn't done her eyebrows yet, or her lashes, though, and her rooting wasn't finished either:


And see her completely finished pictures and auction here: http://www.ebay.com/itm/270802791922?ssPageName=STRK:MESELX:IT&_trksid=p3984.m1555.l2649


-- Edited by Buffington on Sunday 21st of August 2011 02:14:13 PM

__________________
God Bless You, Andrea D.

'Andrea's Dream Babies: giving every mommy a chance to hold the babies of their dreams . . . forever.'


See my website at: www.freewebs.com/andreasdreambabies


Guru

Status: Offline
Posts: 1066
Date:
Permalink   

Thank you Andrea!! Wonderful tutorial, and excellent pix!

Pat, I hope we can leave these particular photos here, or move the entire thread to artist showcase. But it fits so very well in this category....

__________________

Hold Me Forever Nursery
http://holdmeforevernursery.weebly.com/

https://www.facebook.com/HoldMeForeverNursery

Around the World Reborn Artist Forum - Come join us!
http://rebornartistforum.proboards.com/index.cgi


Senior Member

Status: Offline
Posts: 193
Date:
Permalink   

Great tutorial! This will be very helpful when I start my first kit! Thank you :)

__________________


Senior Member

Status: Offline
Posts: 170
Date:
Permalink   

great tutorial x


__________________

Hugs Carol xx


if a first you don't succeed try again...and again....and again hehe


Guru

Status: Offline
Posts: 4356
Date:
Permalink   

I'll say! But the pictures should be links instead!

__________________

We are the most critical of our own works!
 
Current avatar: Hayden sculpt

 www.timelesstreasurebabiesnursery.mysite.com

Pat B. --
Forum Sr. Moderator
Secrist and AV Dealer
Secrist Factory Certified Teacher


Member

Status: Offline
Posts: 21
Date:
Permalink   

Thank you, Andrea. This is really a wonderful tutorial!

__________________
Page 1 of 1  sorted by
 
Quick Reply

Please log in to post quick replies.


Create your own FREE Forum
Report Abuse
Powered by ActiveBoard